

I've been a Linux guy for over 20 years at this point, falling in love with Linux back in 2001. I briefly courted Red Hat and had an extended love affair with Gentoo, but I've since chosen Debian as my long-term Linux partner. If you're not a Linux aficionado, I would strongly recommend taking the time to learn it. In my small network environment, Linux is the backbone - running our public website, our Zabbix system monitoring, my Subversion code repositories, our time clock, our centralized logging and security server, and our MeshCentral server. That being said, the majority of my time is spent writing code for our internal project management application (C#, Visual Studio), administering our production database (SQL Server), and adminstering our internal Active Directory domain and Office 365/Exchange 365 environment. When I discovered Windows Subsystem for Linux (WSL), I decided to move back to Windows as my "daily driver" and I really feel that I have the best of both worlds. In this article, I'll provide a quick overview covering setting up Kali Linux in WSL and configuring a desktop environment.
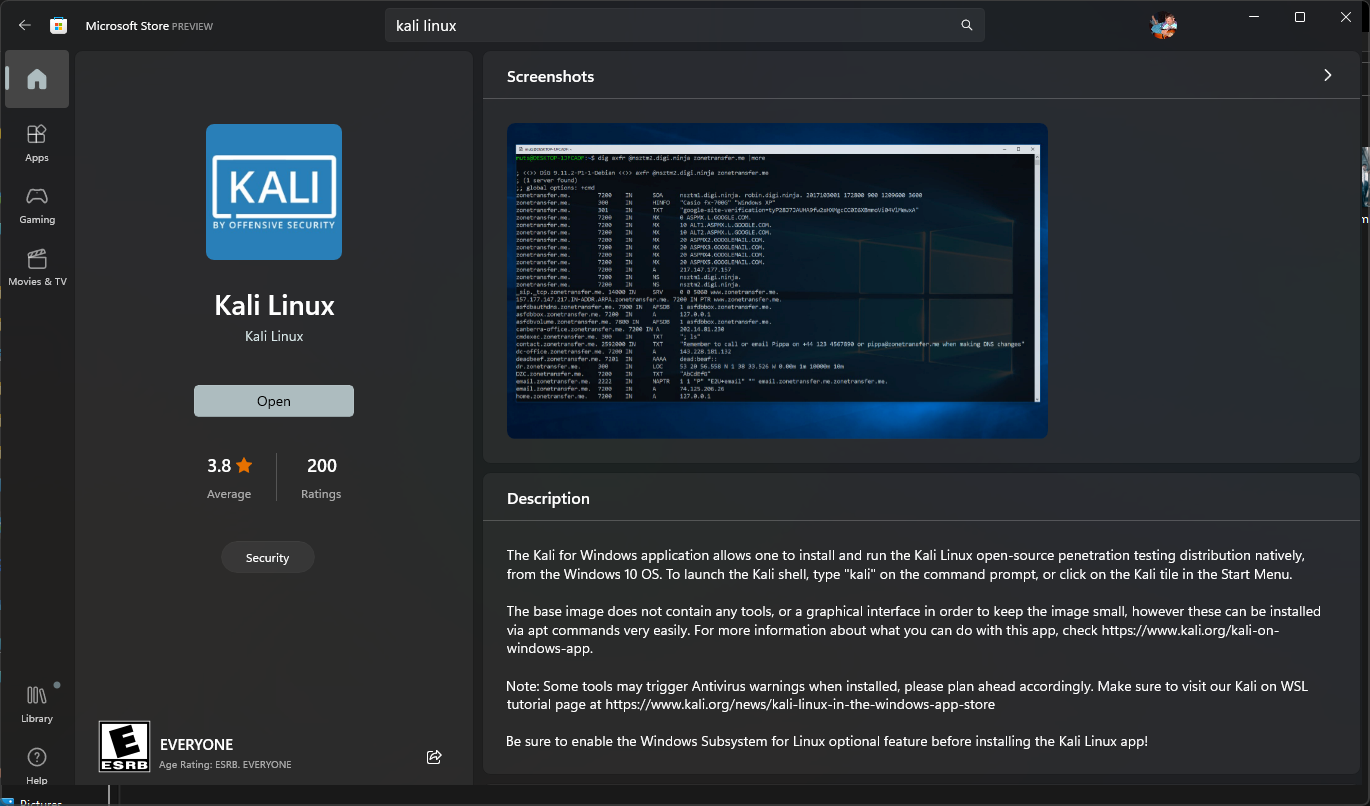
First up, you'll want to make sure you have WSL installed, and you want to make sure you're using version 2 and not version 1 - see this Microsoft article for the differences between the versions along with a link to instructions on how to install WSL. After you have WSL installed, go to the Microsoft Store and search for the Kali Linux application and install from there.
With Kali installed, fire up the Windows Terminal and open Kali. Regarding Kali, I recommend updating often, especially the first time. I prefer to update from the command line:
(kali) mpogue@darkstar [~]$ sudo su -

┌──(root💀darkstar)-[~]
└─# apt-get update && apt-get dist-upgrade

Hit:1 http://kali.download/kali kali-rolling InRelease
Reading package lists... Done
Reading package lists... Done
Building dependency tree... Done
Reading state information... Done
Calculating upgrade... Done
0 upgraded, 0 newly installed, 0 to remove and 0 not upgraded.

┌──(root💀darkstar)-[~]
└─#
After upgrading all available packages, we need to install the xrdp application to provide Remote Desktop Protocol (RDP) access to our desktop environment (as root): apt-get install xrdp. Then, we'll need to install a desktop environment. There are a number of built-in desktop metapackages to choose from:
┌──(root💀darkstar)-[~]
└─# apt-cache search kali-desktop
i3-gaps-dotfiles - Collection of dotfiles to be used with kali-desktop-i3-gaps
kali-desktop-base - Kali version of Debian's desktop-base package
kali-desktop-core - Meta-package with dependencies common to all desktops provided by Kali
kali-desktop-e17 - E17 based Kali desktop
kali-desktop-gnome - GNOME based Kali desktop
kali-desktop-i3 - I3 based Kali desktop
kali-desktop-i3-gaps - I3-gaps based Kali desktop
kali-desktop-kde - KDE based Kali desktop
kali-desktop-live - Kali's live images environment packages
kali-desktop-lxde - LXDE based Kali desktop
kali-desktop-mate - MATE based Kali desktop
kali-desktop-xfce - Xfce based Kali desktop
I would recommend the kali-desktop-xfce package, as the Kali team has put together a very nice Xfce desktop environment. Plus, Xfce is very familiar to users coming from a Windows environment (tour Xfce v4 here): apt-get install kali-desktop-xfce. By installing the metapackage, you'll automatically get all the apps you need along with menu settings, wallpapers, etc.
Optional: for my WSL-based desktops, since I'm using xrdp to avoid conflicts with Windows' built-in RDP server, I always modify the port, starting from 3390 and going up from there. You can easily modify the listening port in the xrdp's configuration file - as root, open the file /etc/xrdp/xrdp.ini and look for the "Port" line. Change the value to whatever port number you prefer.
Now that we've installed the necessary packages, one final step I took which may or may not be necessary. In the Kali WSL terminal, while logged in under your personal user account, create a file in your home directory called .Xsession. Edit the file and enter the line exec startxfce4 and save. For good measure, exit out of the WSL terminal and open a new Powershell terminal. Enter the command wsl -l -v to get the status of your installed Linux distributions.
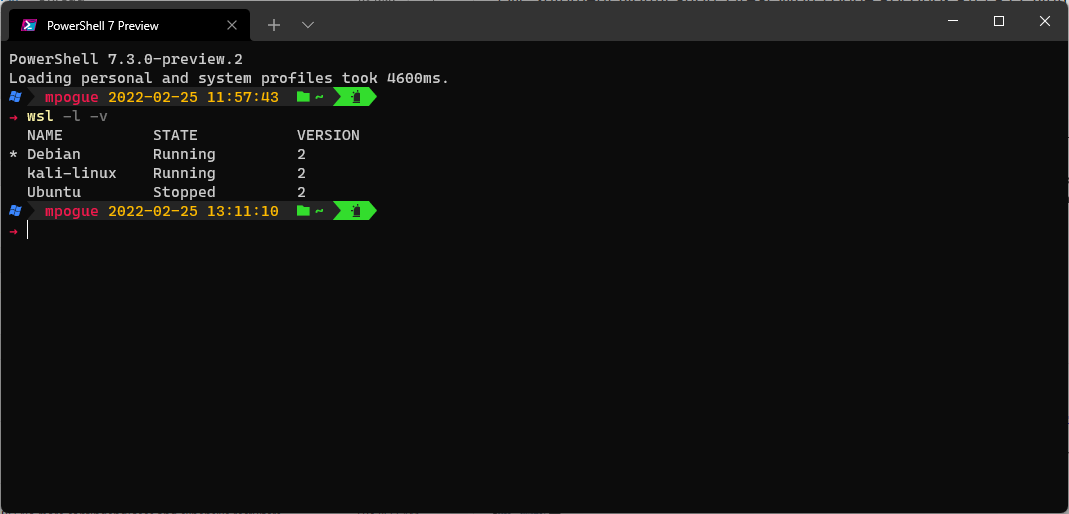
If your Kali distribution is in state "Running", issue the command wsl --shutdown to shut it down. After the command finishes, check the status again to make sure.

Now, let's fire Kali back up by opening a new terminal session. If you're using Windows Terminal (which I highly recommend), simply click the drop-down arrow at the top of the window and click "kali-linux" to open a new terminal tab.
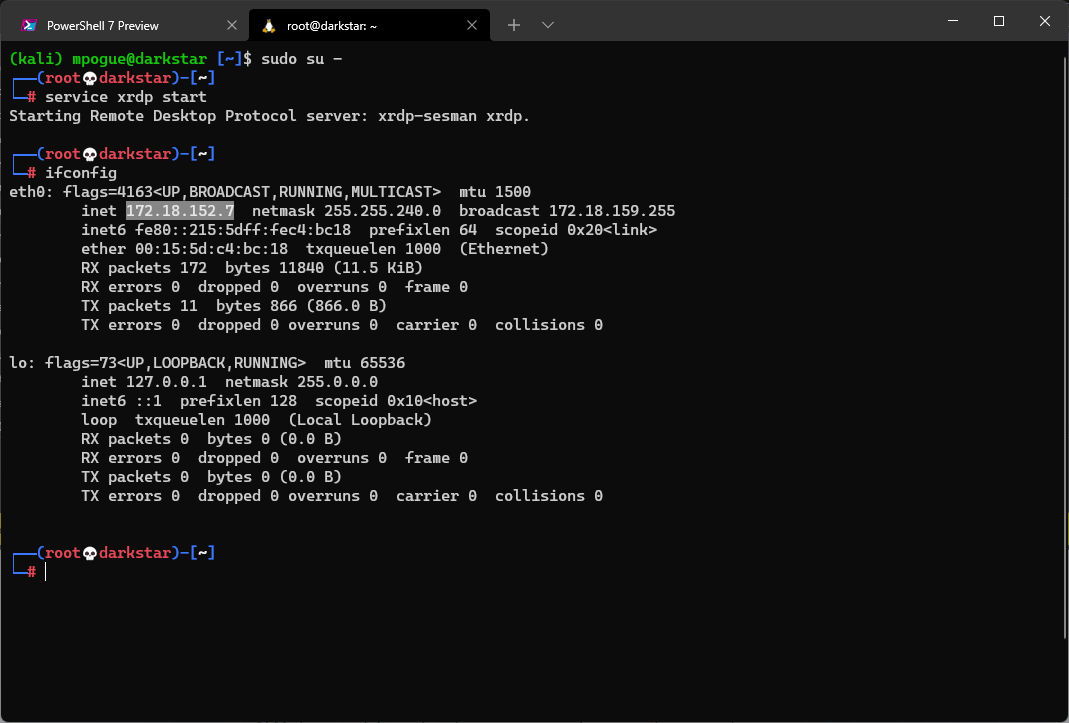
Once you're inside the Kali terminal, become root and start the xrdp service. After the service is started, we need to get the IP address that's been assigned to Kali. I'm sure there's a configuration option somewhere to set this to a static address each time, but I have yet to find it (if you know how to configure static IP's for WSL, please let me know in the comments). These steps are shown in the next image and the Kali IP address is highlighted.
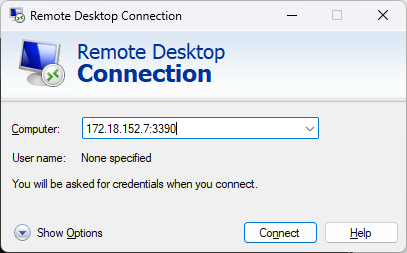
Now that we've started xrdp and determined the assigned IP, we're ready to launch a new RDP client session using the IP address and the port we defined earlier in the xrdp.ini file.
Upon launch, you will be warned that the identity of the remote computer cannot be verified; this is because xrdp isn't using server authentication. You can safely click "Yes" when presented with this box. Once the RDP session launches you will be presented with a login screen. Log in using your username as shown within the Kali terminal (it should match your local Windows user account name) and your Windows password. Note - if you receive an "invalid password" error message, go back to the Kali terminal and as root, use the passwd command to set your password.
┌──(root💀darkstar)-[~]
└─# passwd mpogue
New password:
Retype new password:
passwd: password updated successfully

┌──(root💀darkstar)-[~]
└─#
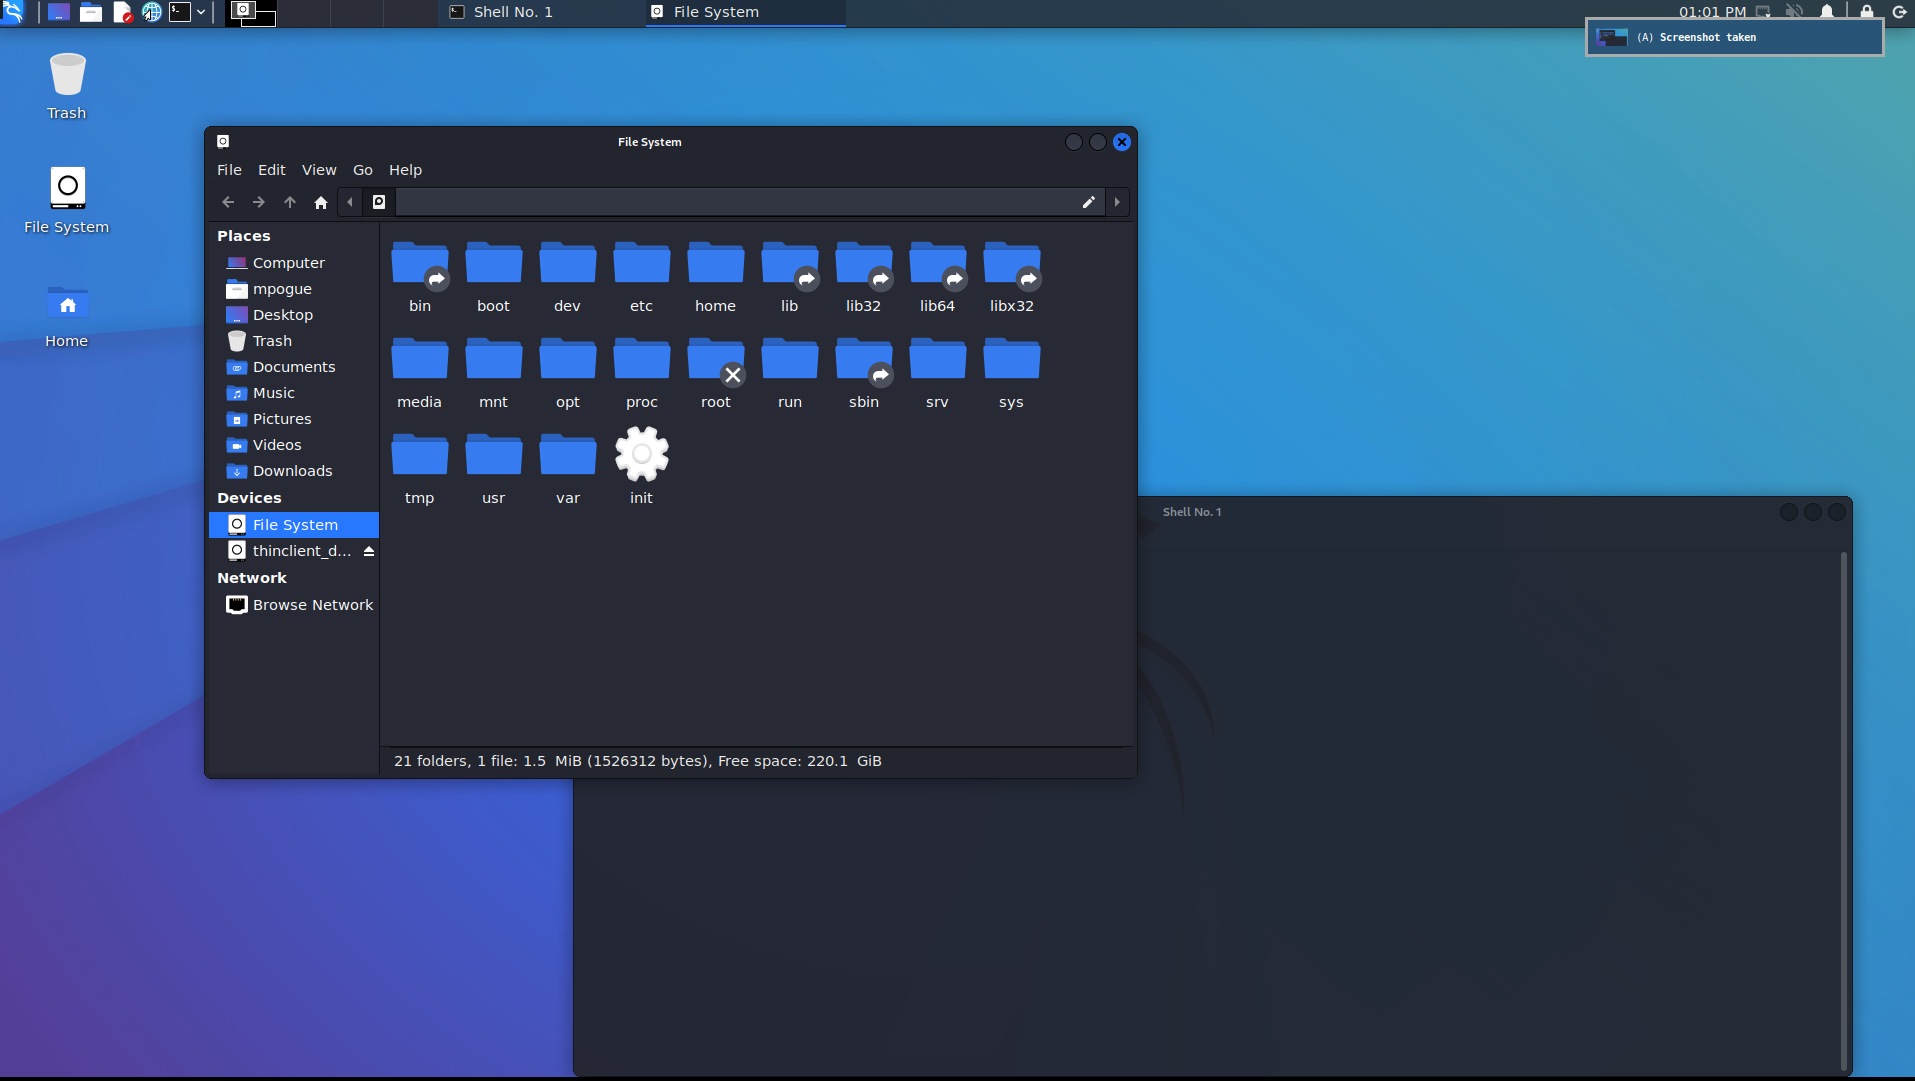
You should now be logged into your new Kali Xfce desktop:
One of the reasons I chose the combination of Kali and xrdp for this topic is because installation of systemd isn't required. There are other techniques for running a desktop from within WSL, but this is by far the simplest in my opinion. Good luck, and if you find any steps missing from these instructions, please let me know in the comments or send me an email.